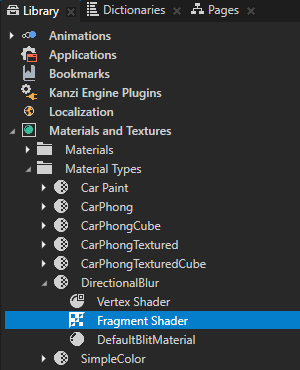
This fragment shader implements the directional Gaussian blur.
precision mediump float;

uniform sampler2D Texture0;
uniform lowp float BlendIntensity;

uniform mediump float kzTextureWidth0;
uniform mediump float kzTextureHeight0;

// Defines the direction (x or y axis) along which to apply the blur.
uniform lowp vec2 BlurDirection;
// Determines the strength of the blur.
uniform mediump float BlurRadius;

// Defines the texture coordinate attribute passed from the vertex shader.
varying vec2 vTexCoord;

vec4 gaussianBlur(mediump vec2 coord, lowp vec2 dir)
{
    // Defines the one-dimensional Gaussian Kernel with 9 samples.
    float GAUSSIAN_KERNEL[9];
    GAUSSIAN_KERNEL[0] = 0.028532;
    GAUSSIAN_KERNEL[1] = 0.067234;
    GAUSSIAN_KERNEL[2] = 0.124009;
    GAUSSIAN_KERNEL[3] = 0.179044;
    GAUSSIAN_KERNEL[4] = 0.20236;
    GAUSSIAN_KERNEL[5] = 0.179044;
    GAUSSIAN_KERNEL[6] = 0.124009;
    GAUSSIAN_KERNEL[7] = 0.067234;
    GAUSSIAN_KERNEL[8] = 0.028532;

    vec2 texel = vec2(1.0/kzTextureWidth0, 1.0/kzTextureHeight0);
    vec4 sum = vec4(0.0);
    // Get the original texture coordinate for this fragment.
    vec2 tc = coord;
    // Get the amount to blur.
    float blur = BlurRadius;
    // Set the amount of blur in the horizontal direction.
    float hstep = dir.x*texel.x;
    // Set the amount of blur in the vertical direction.
    float vstep = dir.y*texel.y;

    // Sample the texture 9 times for every fragment.
    for(int i = 0; i < 9; i++)
    {
        float pixelOffset = (float(i) - floor(9.0 * 0.5));
        mediump vec2 coord = vec2(tc.x + pixelOffset * blur * hstep, tc.y + pixelOffset * blur * vstep);
        sum += texture2D(Texture0, coord) * GAUSSIAN_KERNEL[i];
    }

    return sum;
}

void main()
{
    gl_FragColor = gaussianBlur(vTexCoord, BlurDirection) * BlendIntensity;
}
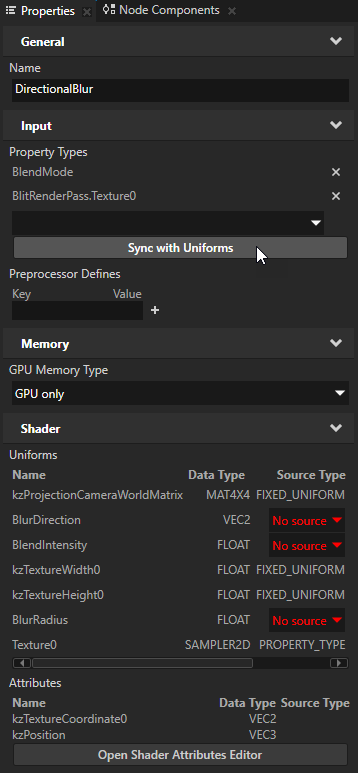
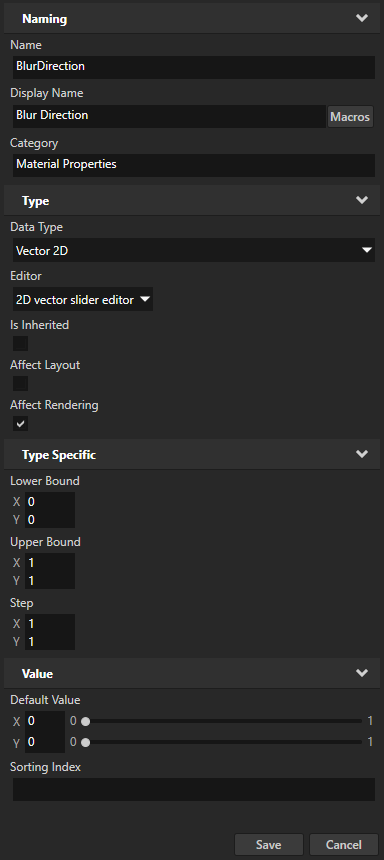
- Display Name to Blur Direction
- Editor to
- Upper Bound property fields X and Y to 1
You use this property type to set the direction in which a render pass applies the blur effect.

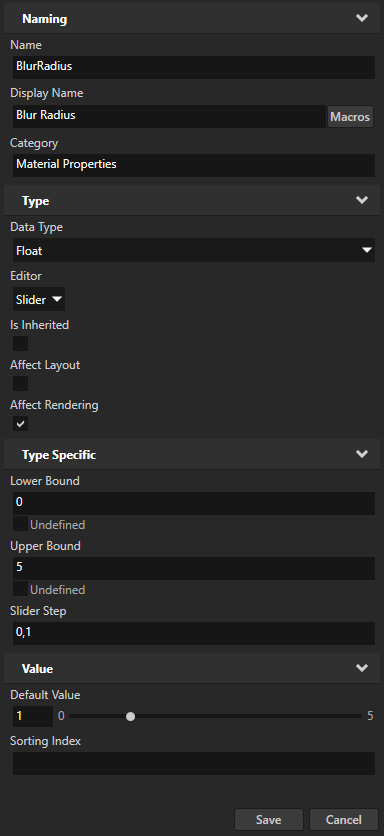
- Display Name to Blur Radius
- Upper Bound to 5
- Default Value to 1
You use this property type to set the strength of the blur effect.
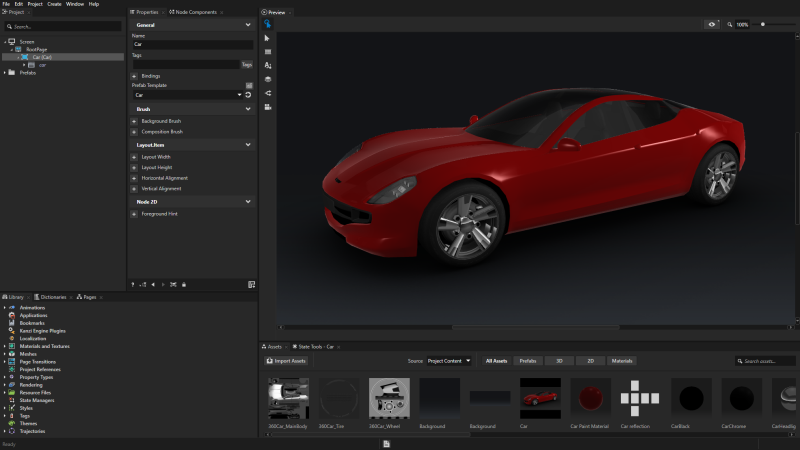
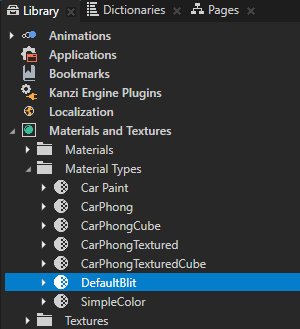
In the next step you use this material to apply the Gaussian blur effect to the model of the car in the project.